Textaizer -
Help Textaizer -
Help |
Textaizer -
Help
5. Free Draw
Create ASCII Art
from scratch With this feature you can create your own ASCII art
picture by simply drawing lines only. For convenience, a background picture can
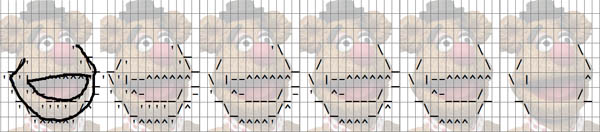
be used and act as a guide to draw your own art. In the example below the
available viewing modes are shown. From L to R: all visible; only lines;
grid + characters; characters. The transparency of the background picture
can be also be set. Size settings Pen and eraser Two controls are available: a pen and an eraser. The pen ( Restore a previous
result Each time a line is drawn, a snapshot is made
of the canvas. By pressing CTRL+Z the previous
snapshot can be restored. This is the normal Windows way to Undo an effect.
Only 10 Undo's are stored, then the first Undo is overwritten with the next one.
There is no 'Redo' available. When the button 'Create draw lines' is pressed, the characters are placed
as a layer on the canvas (these characters can not be erased: it's not the same
drawing layer). When Undo is used and lines are undone, this layer of characters
will not be undone. Instead, ignore this layer and then press the button 'Create draw lines' again. The new characters will now be
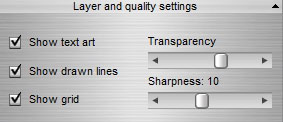
correctly placed. Layer and quality
settings 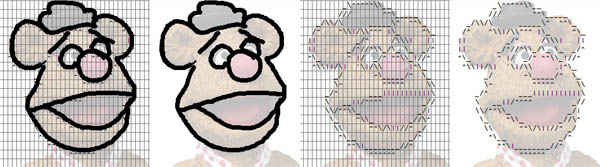
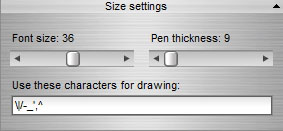
Font
size sets the size of the grid. A large font size
results in a coarse grid. The smaller the font, the more characters are used
and the more accurate the ASCII art will become. A too small size (<
10) may result in bad reading or printing quality.
Pen thickness sets the size of the pen/mouse when drawing
lines. It is recommended to keep the pen size appr. a quarter of the font
size. When the font size is changed the pen size changes along with this
optimum ratio. This can be overruled by manually changing the pen size
again.
Use these characters for drawing are the used characters
by the matching engine. It is recommended to keep the number of characters
low, and preferably only use 'line-ish' characters. We have already
selected the most effective line-drawing characters. But any character will
work. ) is the default action, drawing black
lines on a white canvas, where the background picture is shining through or
not. The eraser (
) is the default action, drawing black
lines on a white canvas, where the background picture is shining through or
not. The eraser ( ) is
selected by pressing the SHIFT button while drawing. Effectively the pen colour
turns into white, and then acts as an eraser with the same thickness as the
pen.
) is
selected by pressing the SHIFT button while drawing. Effectively the pen colour
turns into white, and then acts as an eraser with the same thickness as the
pen.